
Repairing tears and holes in smooth leather furniture
 Download PDF
Tears, holes and deeper scratches on sofas, armchairs, chairs or lounge chairs. Such damage can be repaired yourself with liquid leather if the leather is pigmented smooth leather and the damage is not too severe. Here we show you how.
Does this article apply to my leather?
It is important to determine the type of leather, because this guide is only for pigmented smooth leather. To identify it, we perform the water-drop test.
Pigmented smooth leather: Pigmented smooth leather has a colour layer on its surface. A rubbed-in drop of water does not soak into the leather, but beads up. Pigmented smooth leather is usually satin-matt and has a grained surface.
Aniline leather: Aniline leather is open-pore smooth leather. A rubbed-in drop of water soaks in and darkens the moistened area.
Suede leather: Suede leather has a velour-like surface. Nubuck leather has a very fine nap. Suede leather has a coarser nap, like the reverse side of leather.
PU leather: PU leather, also known as Bycast leather, is split suede leather with a polyurethane coating applied to make it look like smooth leather. PU leather can be recognised by its gloss and plastic-like feel.
If you have aniline leather, read our guide on treating aniline leather here
If you specifically want to repair cat scratches, please follow here our guide for cat scratches
Procedure
Here is some information in advance:
Since the recommended products only produce a good result when used in the correct order and correctly, the following text provides detailed instructions on how to clean, repair and care for typical soiling and signs of wear on smooth leather as effectively as possible with our products.
Fluid Leather (liquid leather) is only suitable for damage to the leather where filling is required. Scratches and signs of wear that are only in the leather’s colour layer do not require treatment with Fluid Leather. Smoothing with the Sanding Pad and colour matching with Leather Fresh are sufficient here. TIP: Run your fingernail over the damaged area. If your fingernail catches in the splits, you need liquid leather.
Once dry, Fluid Leather always has a smooth and glossy surface. To make the repair area less visible, match the damaged area after repair with Leather Fresh in a suitable colour. Dab Leather Fresh on several times with a sponge and dry it with a hair dryer until the desired coverage is achieved.
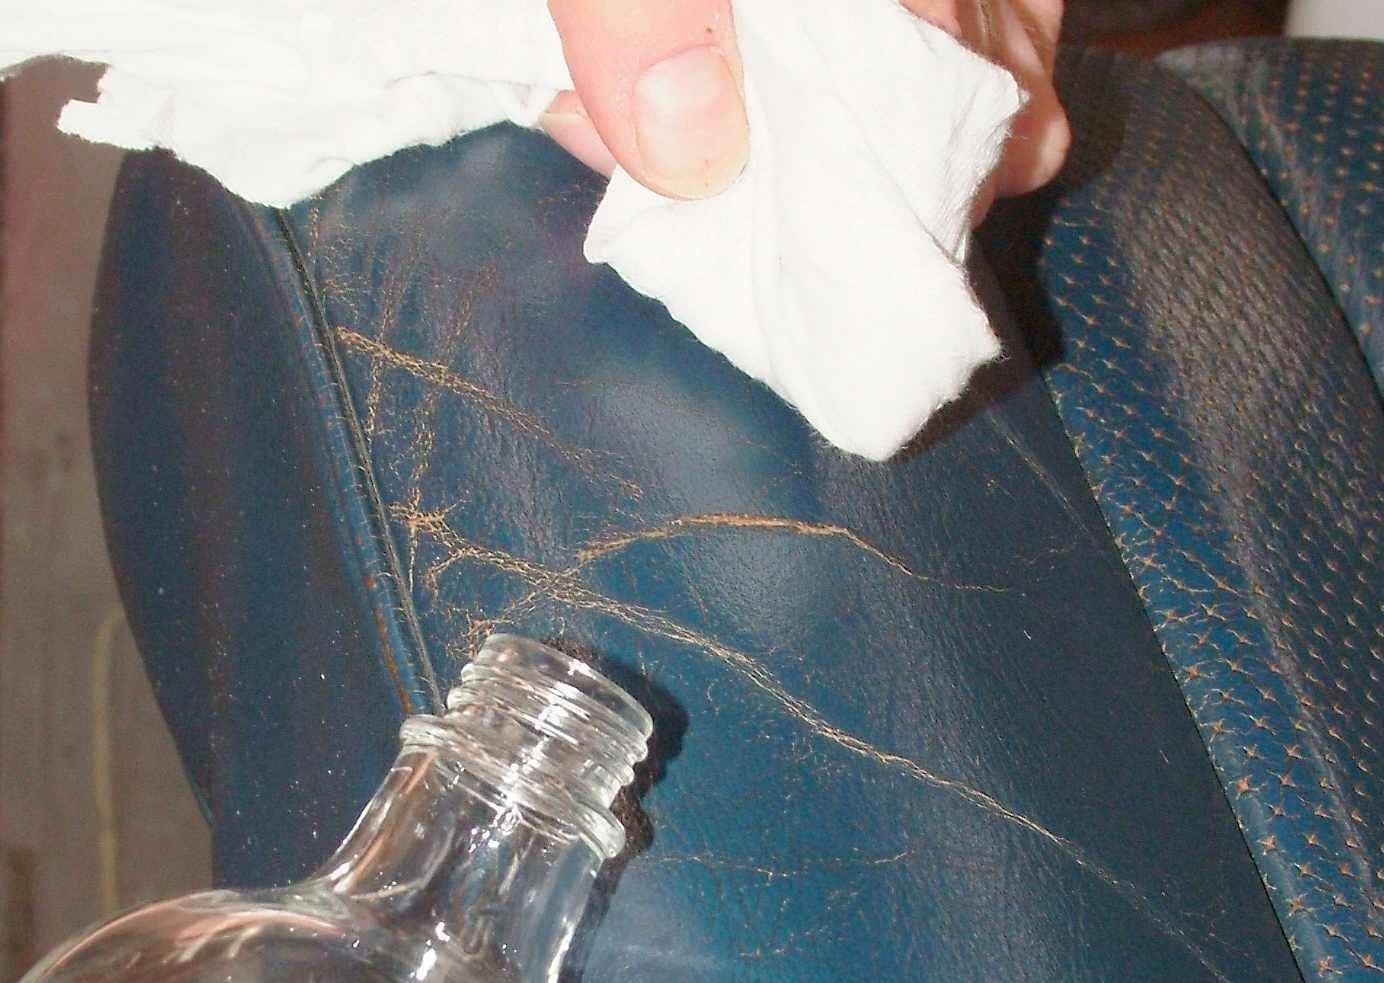
Before treatment, thoroughly degrease the repair areas with our Leather Cleaning Spirit to remove old care-product residues.
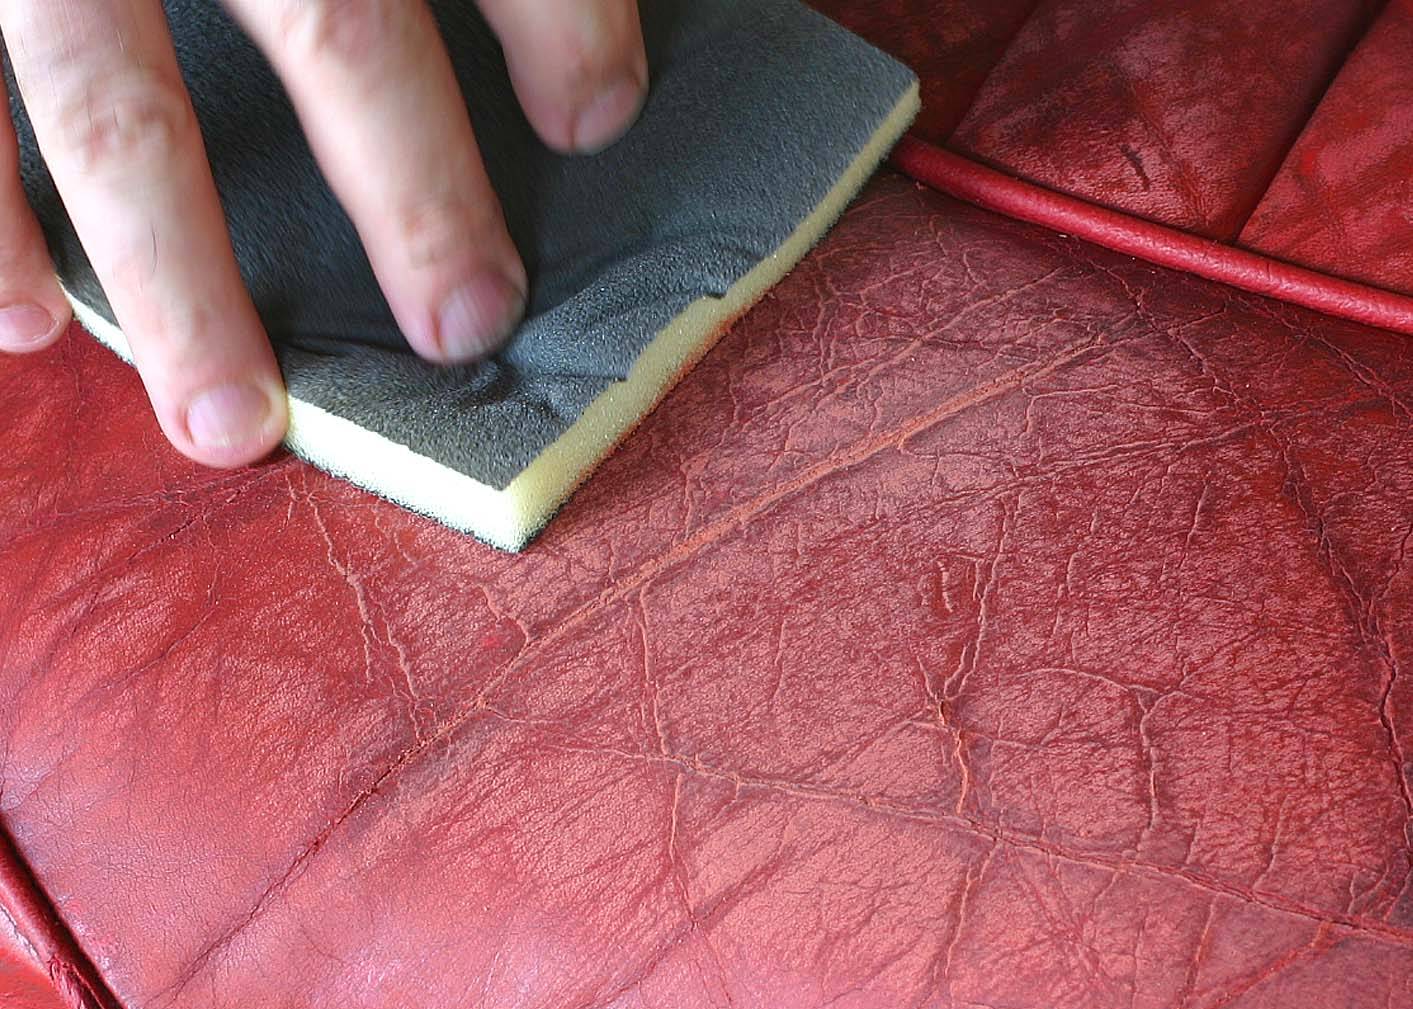
Smooth rough areas, scratches and split edges with our Sanding Pad before treatment.
Always carry out repairs with Fluid Leather on hardened leather before treatment with Old Leather Softener. Otherwise, the replenishment would reduce the adhesion of the liquid leather.
Step 1: Cleaning
Clean the leather in the area of the intact colour layer with Colourlock Leather Cleaner mild. If dirt is embedded in the grain, use the Leather Cleaning Brush to help. Remove cleaning residues with a slightly damp cloth.
Step 2: Smoothing
Smooth areas that have become rough with the Colourlock Sanding Pad without applying much pressure.
Step 3: Degreasing
Thoroughly degrease the areas to be repaired with Leather Cleaning Spirit. This step removes oils, waxes and care-product residues and is essential for good adhesion of Fluid Leather and Leather Fresh.
TIP: Stick masking tape onto the surface. If it is difficult to remove, the leather has been sufficiently degreased.
Step 4: Back torn areas and apply Fluid Leather
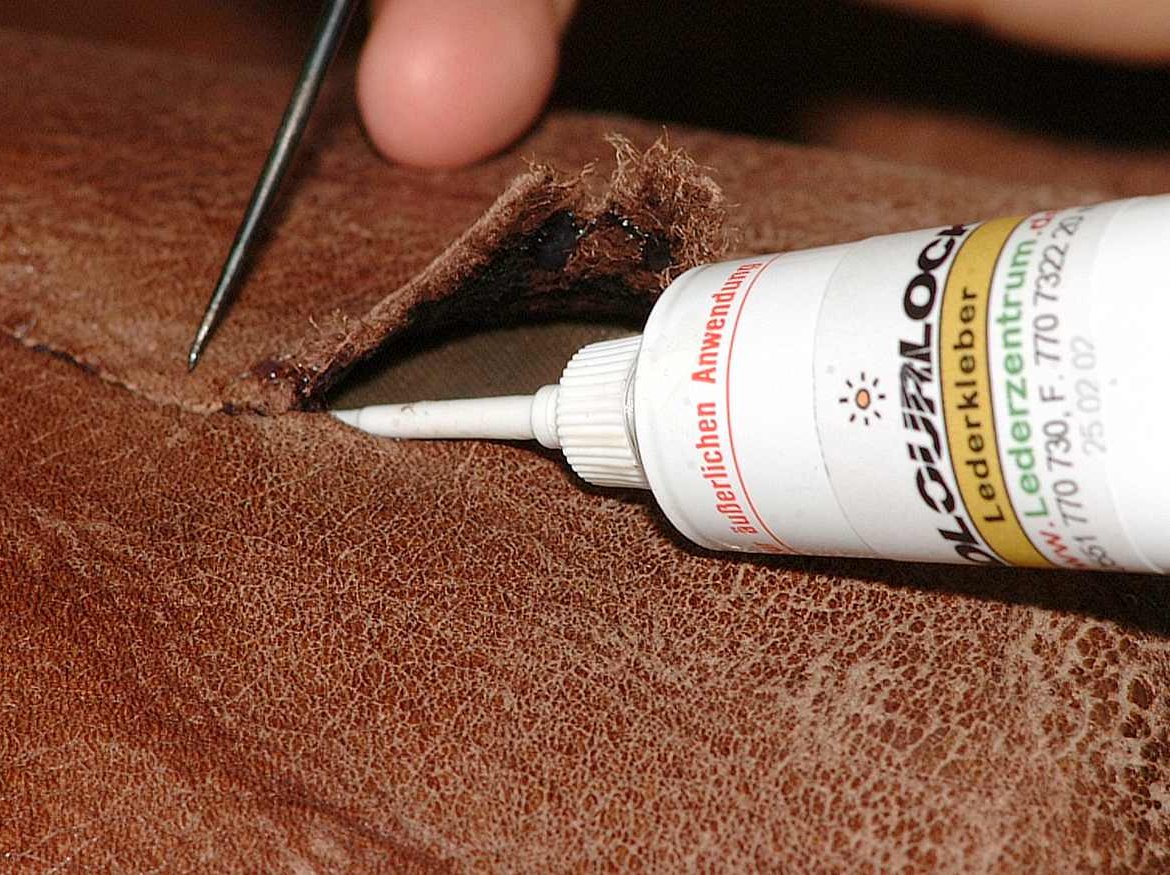
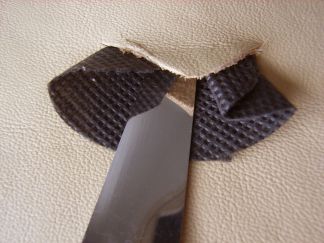
Longer tears must first be backed from behind: cut our Backlining Cloth so that it overlaps the tear by 2 to 3 cm all around. Fix it in the middle with a needle, push the edge of the fabric under the leather with the Spatula and secure it with Colourlock Leather Glue. Allow it to dry for 15 to 30 minutes while applying pressure.
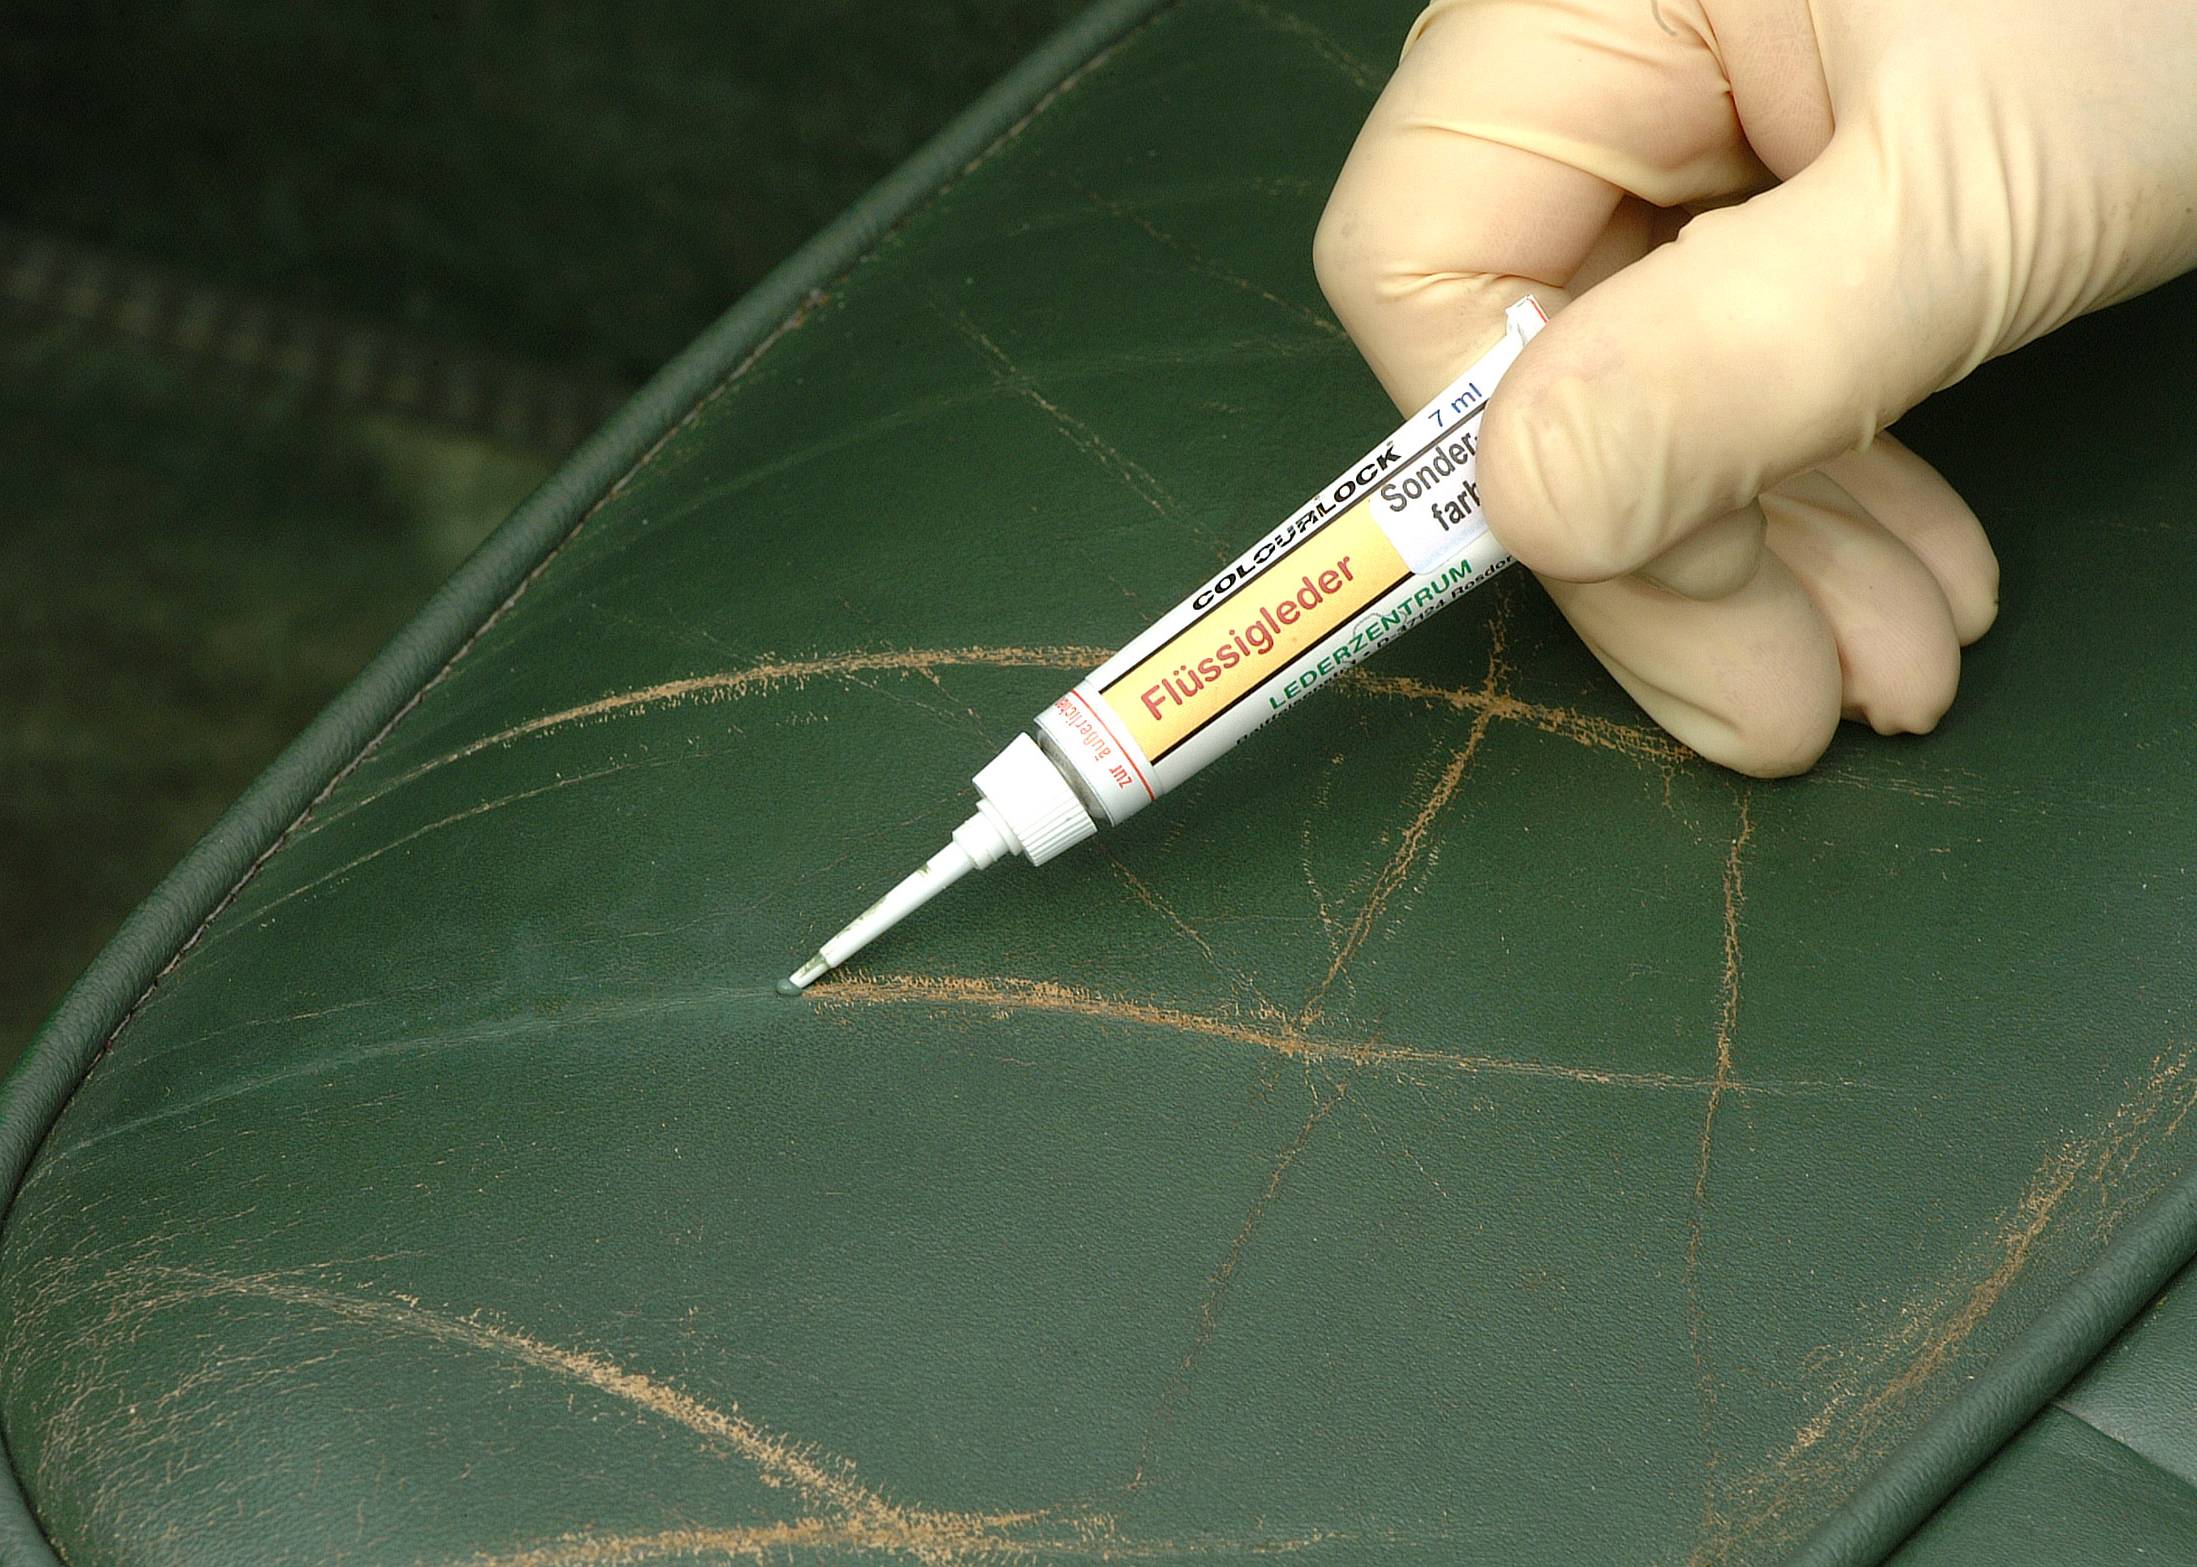
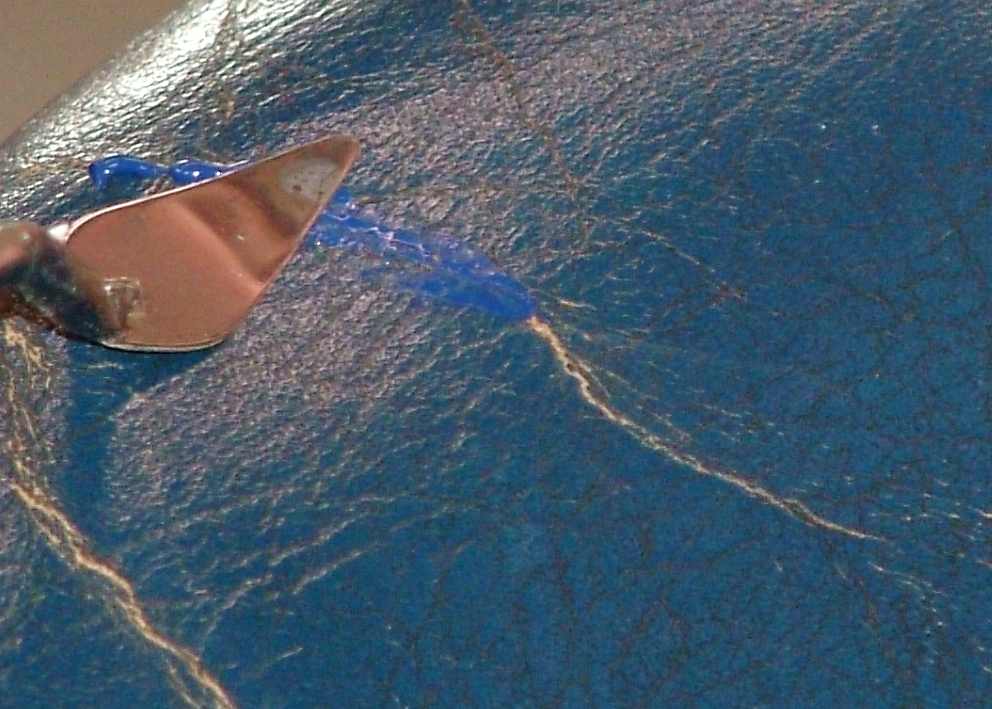
Fill the Fluid Leather in a suitable colour evenly into the damaged area and smooth it with the spatula. Depending on the amount of filling and room temperature, Fluid Leather takes one to two hours to dry. Since liquid leather contracts slightly during this process, repeat it until the repair area is filled as smoothly as possible.
Untidy areas can subsequently be dissolved slightly and smoothed with the GLD-Solvent Pen. Use little pressure and little product so that the repair area does not blur. Allow the liquid leather to dry again in between. In this way, you can remodel a repair until the result is satisfactory.
Tip: If the felt tip of the GLD pen is worn, remove the tip and insert it the other way round.
Step 5: Match the colour
Retint repair areas and colour damage with Colourlock Leather Fresh in a suitable colour. Apply Leather Fresh by dabbing with a sponge, dry it with a hair dryer and repeat until the desired coverage is achieved.
When purchasing our Leather Fresh smooth-leather tints, you must select the correct colour for your furniture leather. You may find this information on the invoice. If you no longer have it, look underneath the furniture to see whether the colour details can be found there. Compare the information with our manufacturer list. A special-colour mixing fee of CHF 25.- applies to colours from manufacturers.
If the colour you are looking for is not listed, we will send you a colour chart with our standard colours free of charge. Here is the order form.
If the colour you are looking for can be found neither on the manufacturer list nor on the colour chart, we can also mix the colour from a sample. With most sofas and armchairs, the fabric stapled to the frame underneath the furniture can be loosened slightly and you can cut off a small piece of leather. The size of a CHF 1 coin is sufficient. You can also send us a headrest or a cushion cover, if available; of course, you will receive the sample back and do not need to send it again for repeat orders, as we create our own reference sample. You will find our address below (please write the sender clearly):Weidmann & Sohn
Lederzentrum Schweiz
Tämperlistrasse 3
8117 Fällanden
IMPORTANT: When ordering through the shop, select the “send a sample” option in the colour selection for Leather Fresh and Fluid Leather. We will contact you immediately after receiving the sample.
Please note that special-colour mixes, whether based on a manufacturer colour or a submitted sample, take 7–9 working days from the order date to process before they are dispatched.
Step 6: Care
Finally, the leather should be cared for and protected. Carry out this step only one day after tinting; Leather Fresh should be completely dry before coming into contact with liquid, and the care product should be applied gently and without heavy rubbing. Apply Leather Care gently and without rubbing hard.
Tip: First distribute Leather Care sparingly on a cloth, then apply it to the leather in circular motions from seam to seam. Excess care product can be removed with a cloth lightly moistened with water. Regular, sparing cleaning and care extend the life of your leather!
Special cases
A hole with missing leather
Holes should first be reinforced on the reverse side by backing them. Use our Backlining Cloth (backing fabric) and Leather Glue for this. Then cut a piece of leather from the original cover in a concealed area and trim it to fit the insertion. Next, glue in the cut piece of leather with Leather Glue. Close the remaining gap with Fluid Leather as described above.
A tear in the leather
Leather that has already torn must first be assessed to determine whether it would be better replaced. In particular, long tears in old, brittle leather or tears in areas subject to high wear are often not repairable or do not last long after repair. We recommend repairing tears only on leather that is still stable and for tears only a few centimetres long. The procedure: first provisionally glue small tears that are not under tension edge to edge with our Leather Glue. Then close the tear with Fluid Leather as described above. Tears that are under tension should be backed with Backlining Cloth (backing fabric). For very large tears and very brittle leather, a stitch with a knot facing down can be placed every 3–4 centimetres. Then conceal the thread with Fluid Leather. Pierce a hole to the left and right of the tear (the leather must not be too brittle there) and thread sewing yarn through with a curved needle. Place the knot on the reverse side and pull together only until the tear is edge to edge. Tears that are too large in high-wear areas, or leather that is too weak or hardened overall, should be replaced with new leather.
We will be happy to advise you if you are unsure.
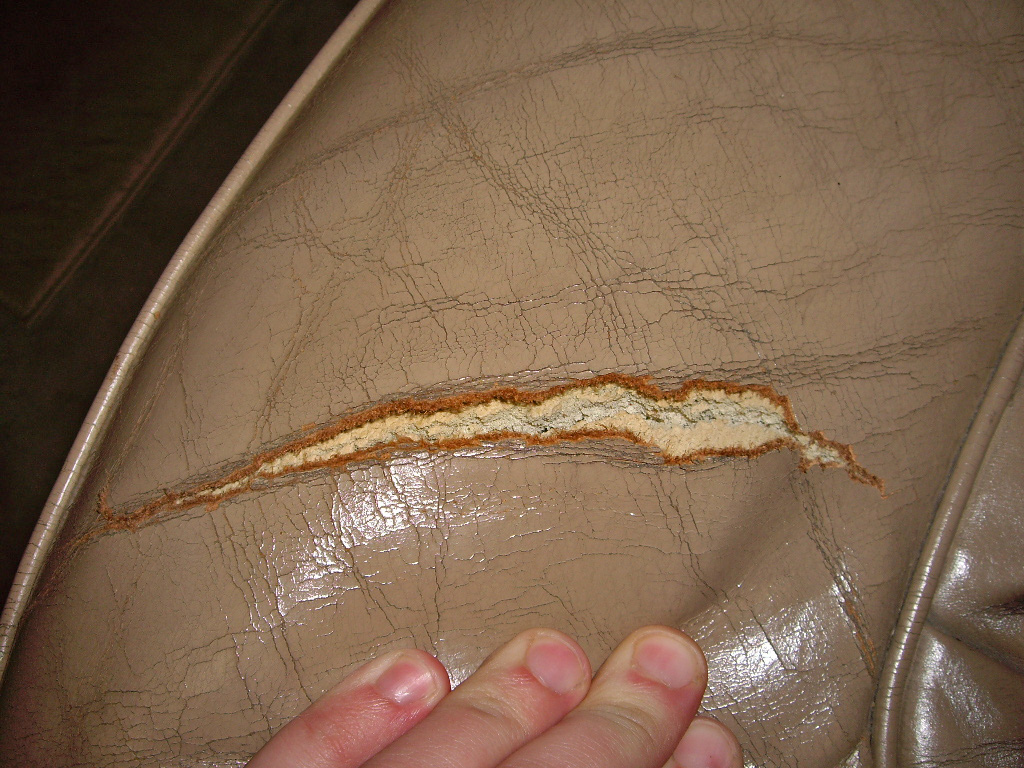
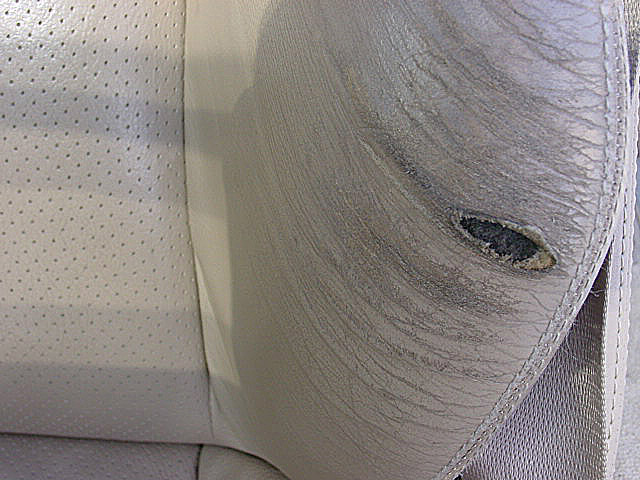
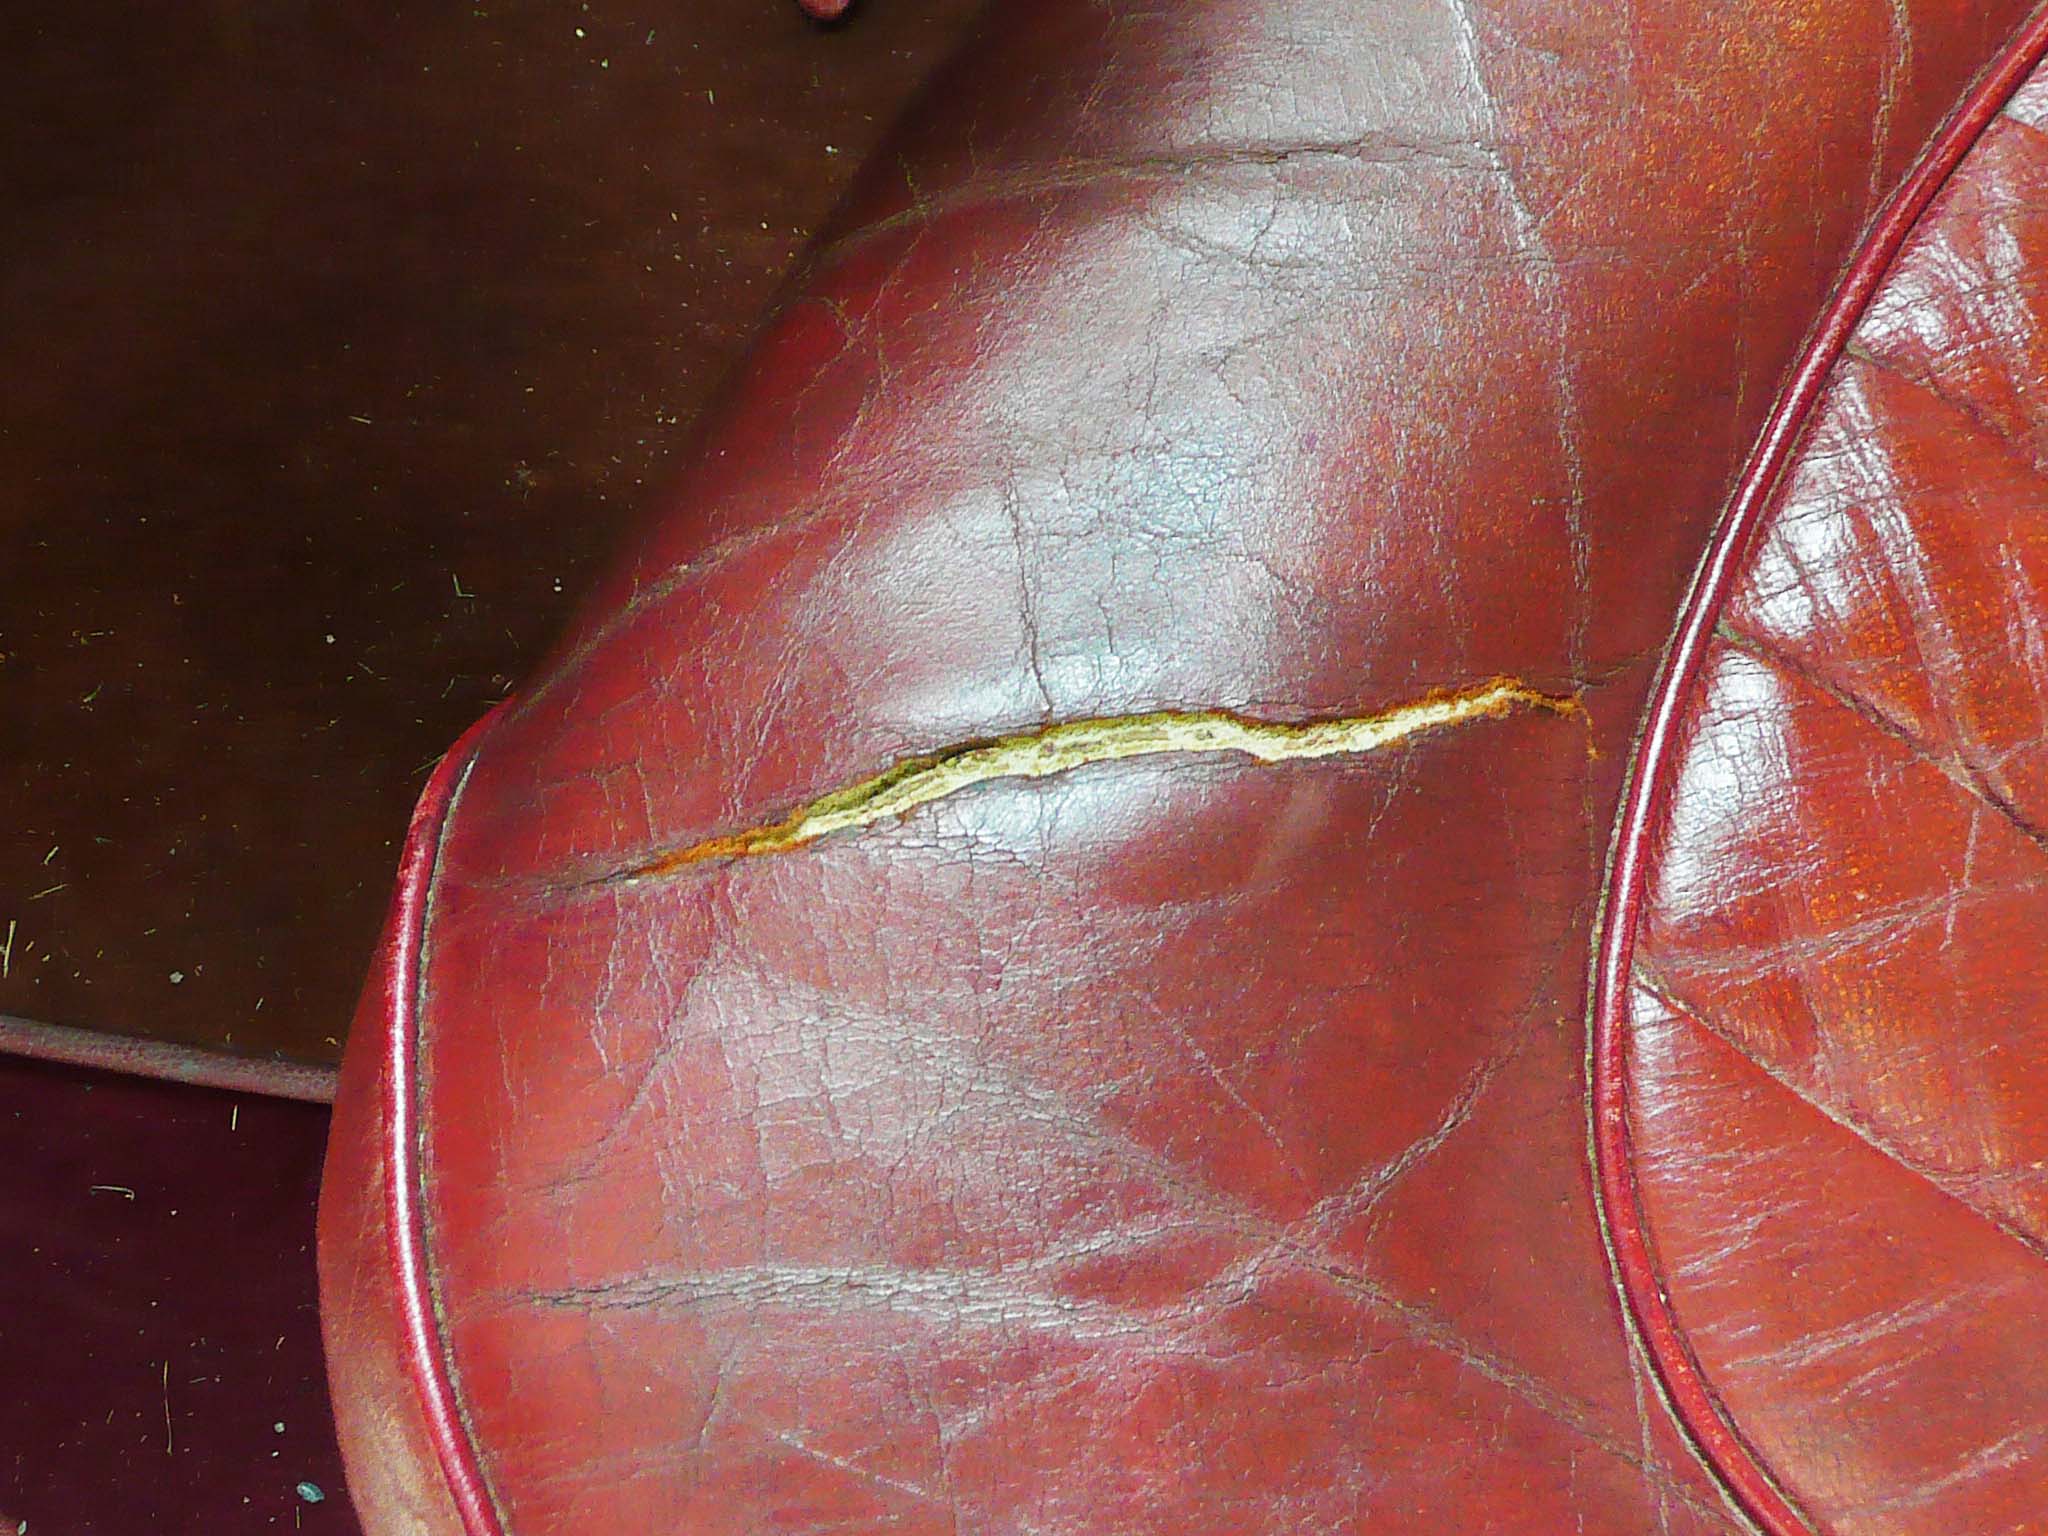
In such cases, replacing the leather is more advisable.
Product recommendations
Note: (Products are added to the basket by clicking them and can then be ordered)
Note on colour selection: After selecting the products you want, click “Add to Basket”. You will then be redirected to the colour selection.
Repairing tears in furniture leather (pigmented smooth leather)
- Leather Fresh Colour & Protect Set + Fluid Leather
Contents:
- 1 x Leather Cleaner mild 250 ml
- 1 x Leather Care 100 ml
- 1 x Degreaser 250 ml
- 1 x Leather Fresh 100 ml
- 1 x Sanding Pad
- 1 x Leather Cleaning Brush brown
- 1 x Foamer Bottle/foam applicator bottle
- 2 x Viscose cloth
- 1 x Cleaning & Application Sponge medium (90x55x35mm)
- 2 x Nitril Gloves
Leather Fresh - please select a colour:
Fluid Leather - please select a colour:
- GLD Solvent-Pen
“I have tears and holes that I need to back and glue.”
- Leather Glue Repair Set
Contents:
- 1 x Leather Glue 20 ml solvent free
- 1 x Backlining Cloth black 15x25 cm
- 1 x Mini Brush
- Complete Leather Repair Set
Contents:
- 1 x Leather Cleaner mild 250 ml
- 1 x Leather Cleaner strong 250 ml
- 1 x Leather Care 100 ml
- 1 x Degreaser/degreasing agent 250 ml
- 1 x Elephant Leather Preserver 125 ml
- 1 x GLD-Solvent Pen
- 1 x Leather Shield 100 ml
- 1 x Leather Fresh 100 ml
- 1 x Fluid Leather 7 ml
- 1 x Leather Glue solvent free 20 ml
- 2 x Foamer Bottle
- 10 x Mini Brush
- 1 x Leatherbrush synthetic
- 1 x Sanding Pad
- 8 x Viscose cloth
- 4 x Cleaning & Application Sponge small
- 2 x Nitril Gloves
- 1 x Backlining Cloth black 15x25cm
- 1 x Spatula Flat long
- Leather Cleaning Spirit 225 ml
Choose colours
Please configure every selected colour product before adding the selection to the cart.
Videos about product applications
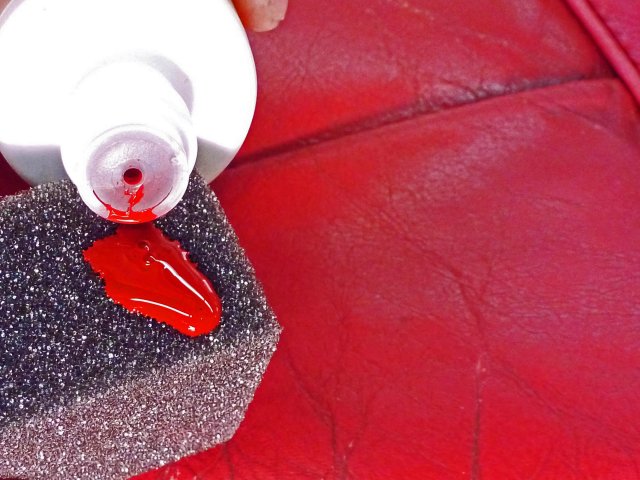
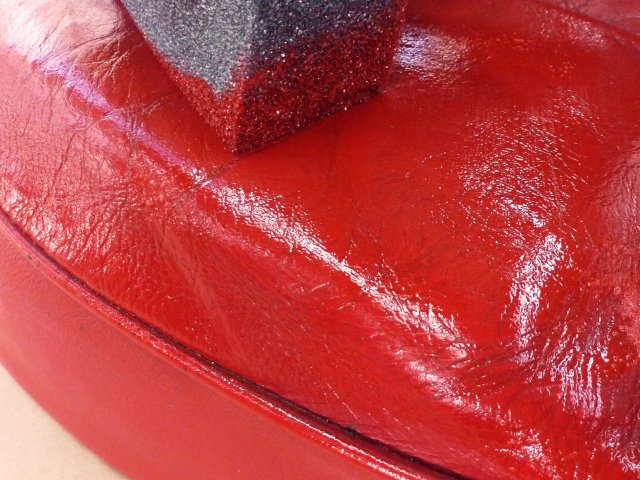
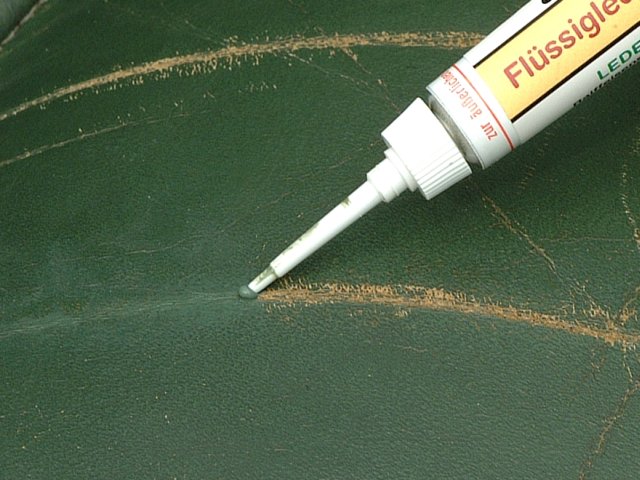
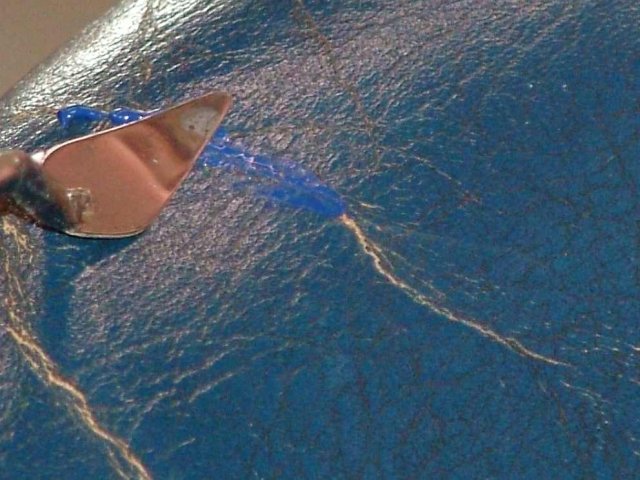
With COLOURLOCK Leather Fresh and COLOURLOCK Fluid Leather, signs of wear that are not too severe on plain-coloured smooth leather can be removed well.